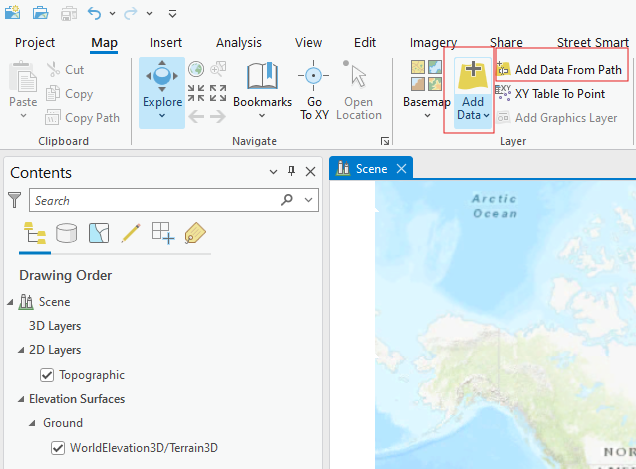
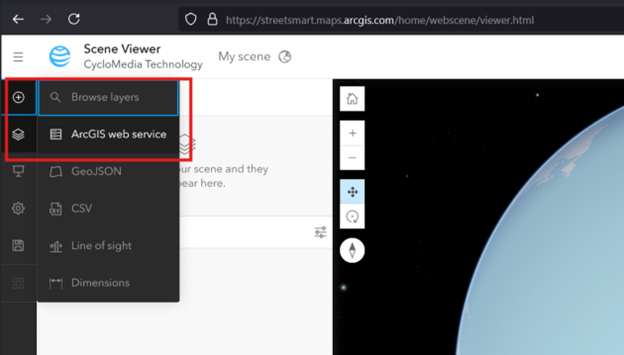
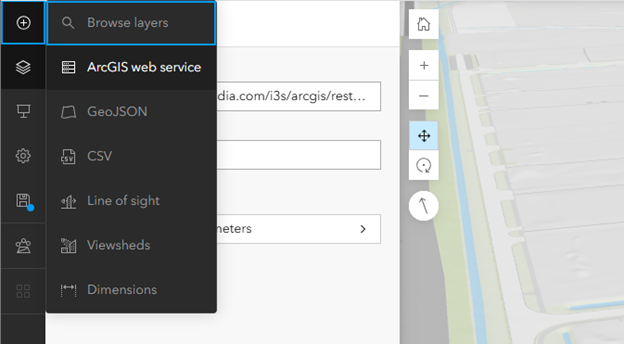
5. Add a new layer and choose for ArcGIS web service.
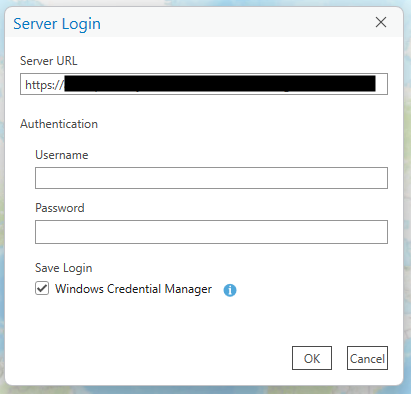
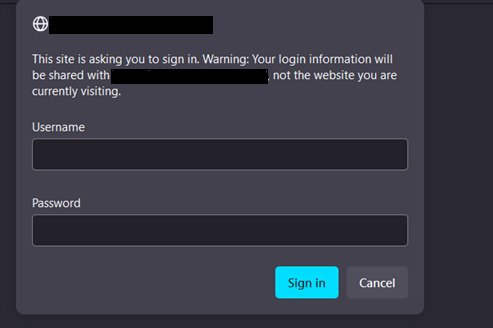
7. Fill the prompt for adding username and password.
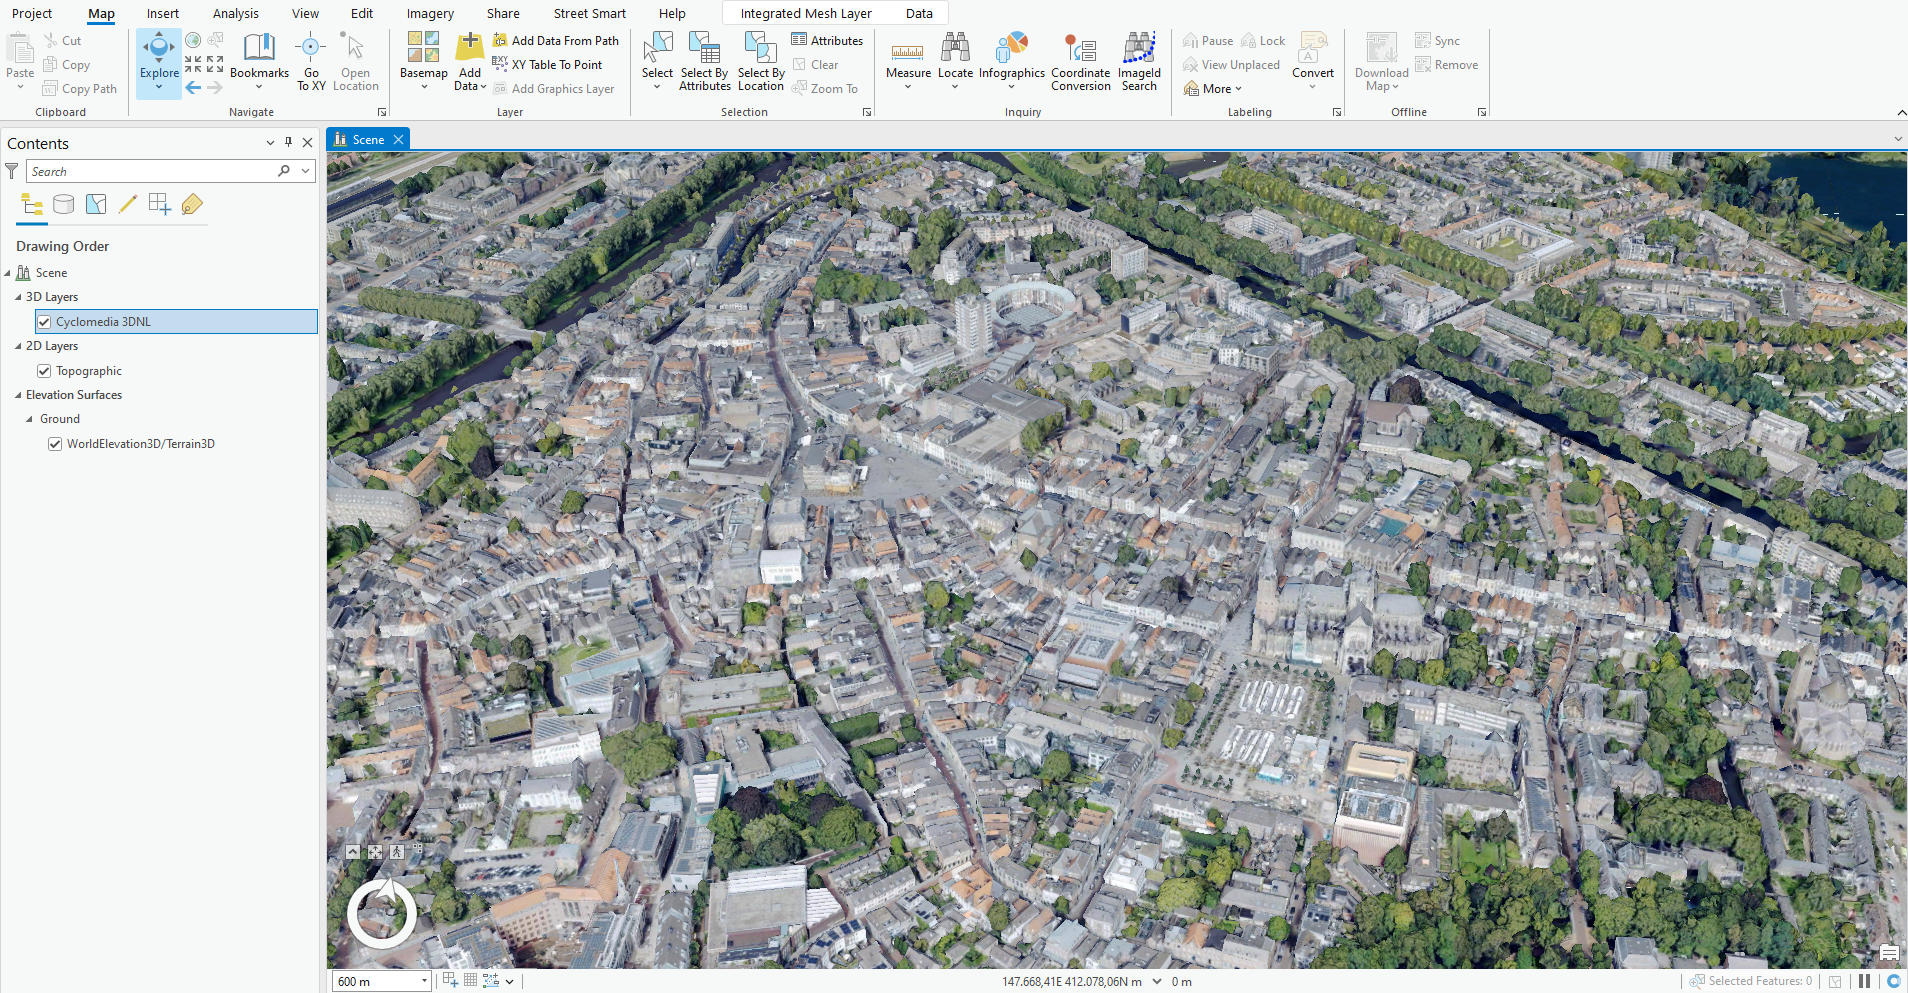
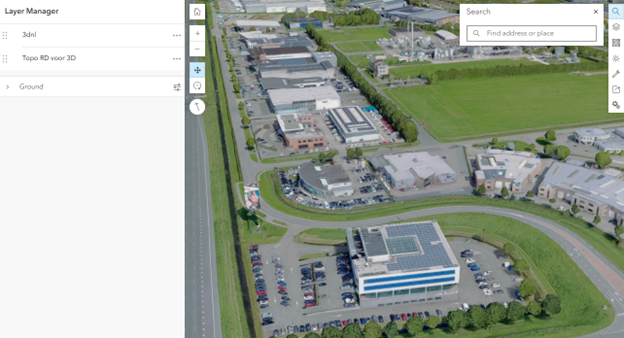
8. 3DNL is now successfully added to your Scene.
How to use 3DNL in ArcGIS with the new API Keys
This article describes how API Keys can be used to authorize 3DNL in ArcGIS. The first way is to authorize 3DNL as a layer in the Scene Viewer, the second way is to save a Scene Layer as an item.
1) Authorize 3DNL as a layer in an ArcGIS web scene with API Key.
In a local scene it is possible to add the 3DNL ArcGIS web service. This can be done with the following easy steps.
1. Open the Layer manager and click on ArcGIS web service
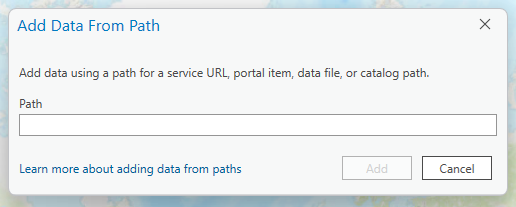
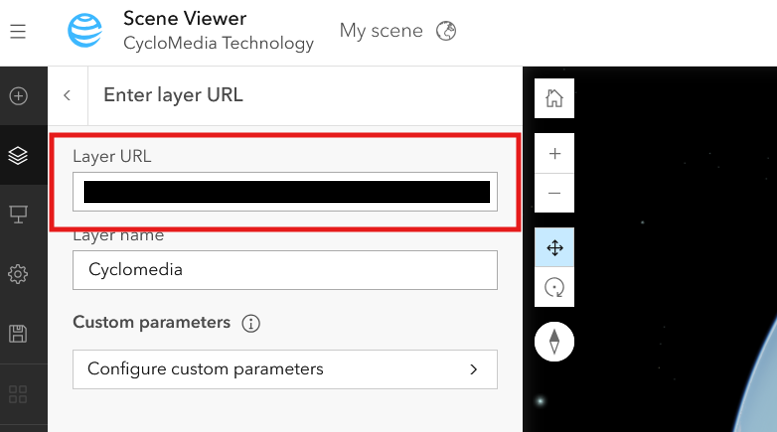
2. Fill in the Layer URL
https://atlasapi.cyclomedia.com/i3s/arcgis/rest/services/3dnl/SceneServer
3. Configure custom parameters
Parameter: apikey
Value: fill your api key here

4. 3DNL will now be available within the Scene Viewer. The layer with the API Key will be saved within the Scene and the Scene can be shared.
2) Authorize 3DNL as an item in ArcGIS with API Key.
At this moment custom parameters can not be saved in Scene layers and the API Keys can not be used to authorize 3DNL as an item in your ArcGIS Online or ArcGIS Enterprise environment.
Best practices for 3DNL in ArcGIS Online
1. Add local elevation layer
With the Living Atlas, an elevation layer can be added in the RD New coordinate system. It can be found in the Living Atlas under the name "Elevation 3D (RD)". This layer is based on AHN3 and AHN4 and corresponds to the coordinate system of 3DNL. Height layers can be used as a surface that provides base heights for other layers in scenes.
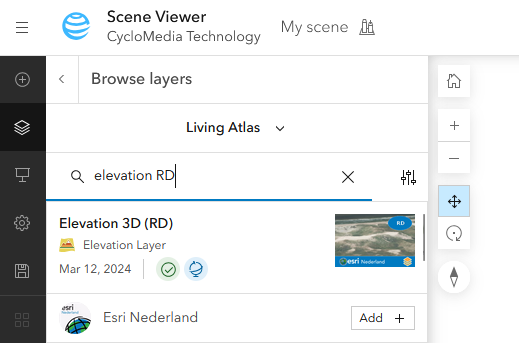
When adding, the pop-up 'Data mismatch will appear, click on ‘Drop’ so that the projection of the scene is switched to RD New.
To learn more about Applying Elevation in a 3D Scene, read Esri's Storymap (in Dutch).
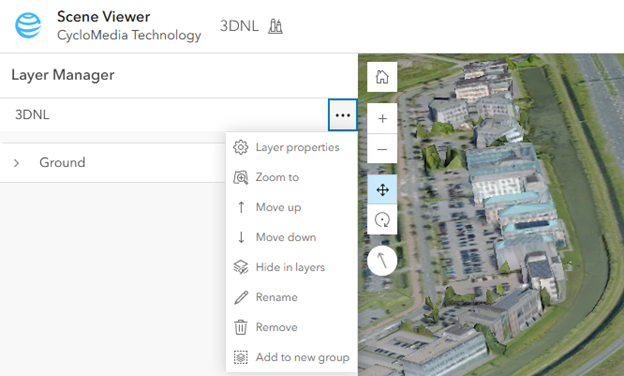
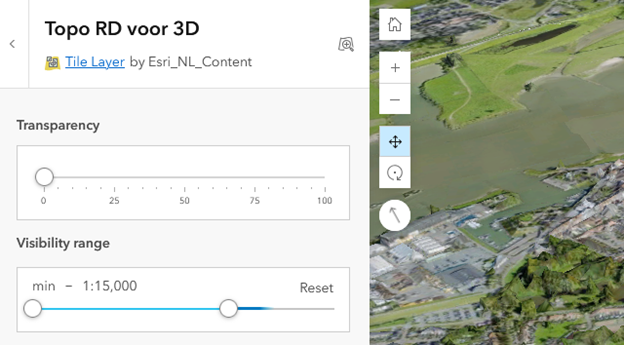
2. Set the visibility range
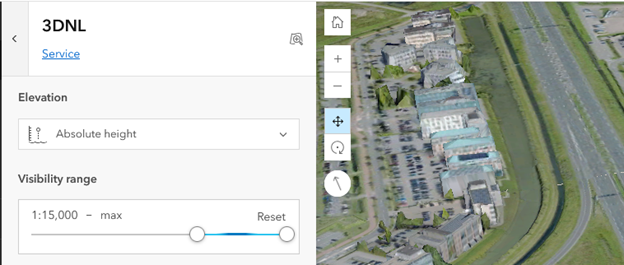
In the layer properties, which can be found for every layer in the Layer Manager, it is possible to set the visibility range of the 3DNL layer.
It is advised to set a minimum Visibility range, for example of 1:15,000 – max. This makes sure that 3DNL is only loaded when the scene is sufficiently zoomed in.
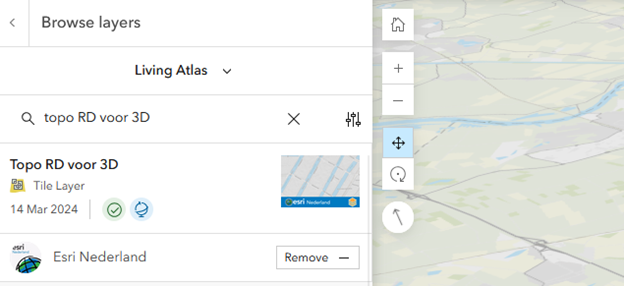
3. Make use of a base layer
By adding a base layer the user has the possibility to go to the correct location in the scene. A suggestion to use as a base layer is the ‘Topo RD voor 3D’ which can be found in the Living Atlas.
The visibility range of both layers can also be combined, when 3DNL is visible starting at 1:15,000, the Topo layer can be visible up to 1:15,000. For this the Visibility range has to be set ‘min – 1:15,000’.
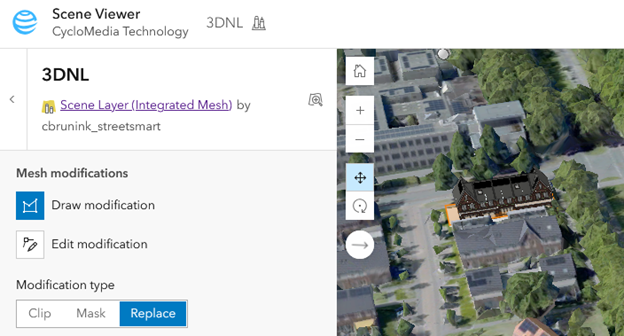
4. Mesh modification
Mesh modifications can be used to clip, mask or replace the 3DNL mesh. The modifications can be found in the layer properties in the Layer Manager.
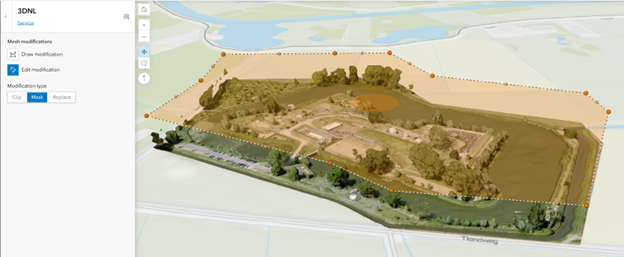
The Mask modification can be used to show a certain part of the 3DNL mesh. The areas outside of the area will not be shown, which improves the performance of the 3DNL layer.
The Clip modification gives the possibility to exclude a certain part of the mesh. This can be used to make other layers visible which would otherwise overlap the 3DNL mesh.
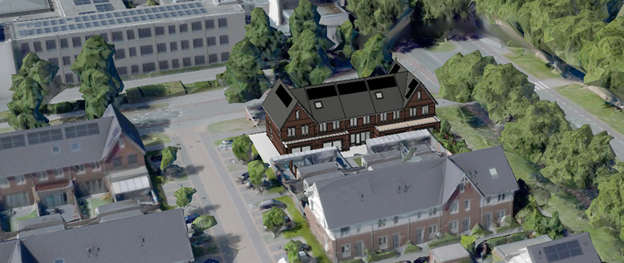
Lastly the Replace modification can be used to adjust the height of the mesh inside the polygon. This can for example be used to flatten the mesh to ground level.
More information about mesh modifications can be found here.